|
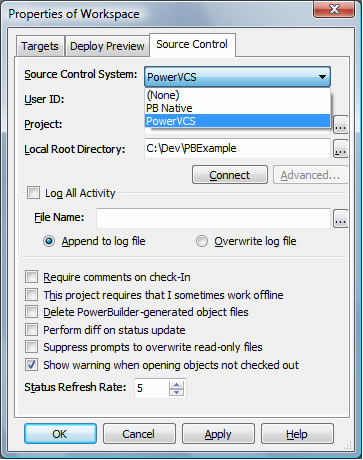
Creating a PowerVCS Project from within PowerBuilder To use PowerVCS with PowerBuilder you must first specify PowerVCS as the Source Control System that you want to use. Select PowerVCS from the list of Source Control Systems in the Source Control Properties window for the Workspace.
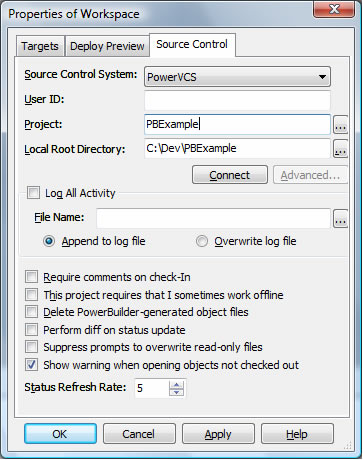
Then enter a name for the Project to be associated with this Workspace.
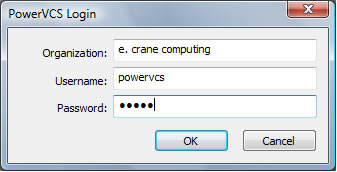
Then click the Connect button. Because this is the first time you have used PowerVCS it will prompt you to enter your login information. Enter the organization name given to you by E. Crane Computing, and enter the default username and password, powervcs and admin.
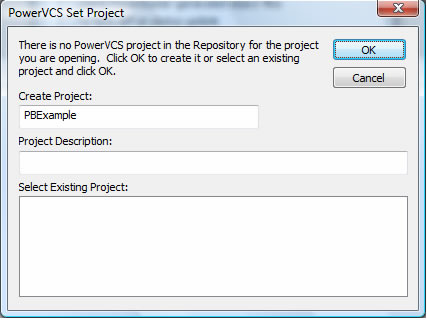
After you click the OK button PowerVCS will check whether or not an existing Project exists with the same name (which it won’t because we’re just starting). If the Project doesn’t exist you will be prompted to create the Project.
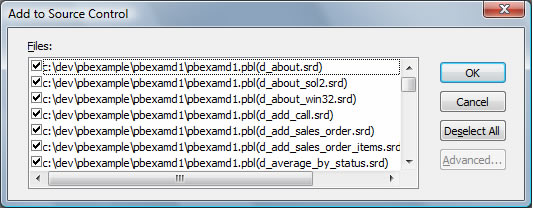
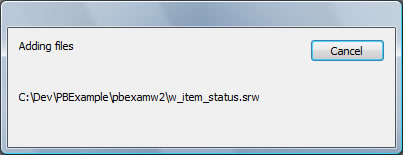
When you click OK a Project is created in the PowerVCS Repository and you’re ready to start adding files from your Workspace. Right click on the Workspace and choose Add to Source Control.
Note that in some cases a message will appear in the output window:
This appears because PowerBuilder is looking for a PBG file that does not yet exist. PBG files are generated automatically by PowerBuilder to map which objects belong in which PBL. This error can be ignored.
After this step all of the PowerBuilder objects have been added to the PowerVCS Repository and you can proceed to check objects out and in as necessary.
|
